Print-ready file export: the 2026 WooCommerce guide
A print-ready file export turns each custom design into a production file your printer can use directly. Learn what makes a file print-ready, and how to automate CMYK, bleed, and DPI-perfect exports from every WooCommerce order.
 Rafael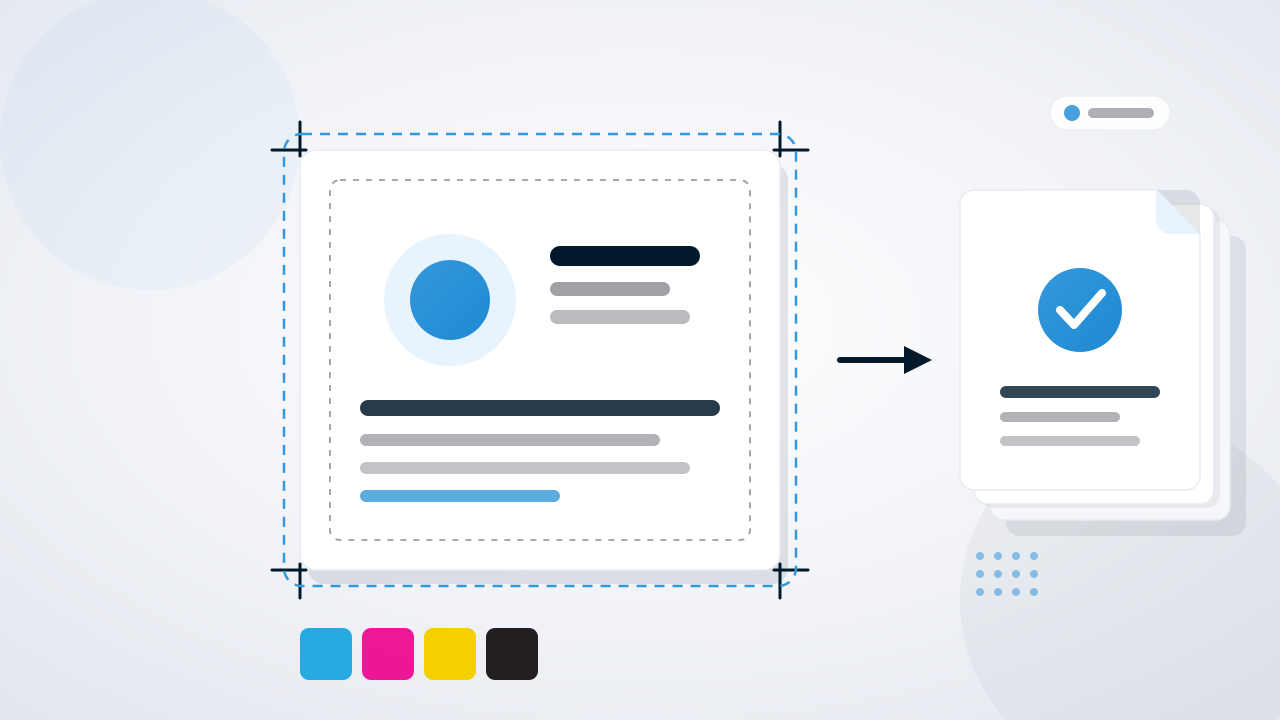
Print-ready file export: the 2026 WooCommerce guide
A customer perfects their design in your customizer. The colors pop, the logo sits dead center, and everything looks flawless on screen. Then the file reaches your printer, and the reds turn muddy, a thin white sliver shows along one edge, and the text prints soft. That gap between "looks right on the monitor" and "prints right on the press" is where custom-product businesses quietly lose money, and closing it is exactly what a reliable print-ready file export is for.
Here is the problem most product customizers never solve. They hand you a web-optimized preview, not a production file. So someone on your team opens every order in a design app and rebuilds it by hand: convert to CMYK, add bleed, check resolution, save in the right format. That work does not scale. This guide covers what a print-ready file export is, what separates a real production file from a pretty preview, and how to automate the whole thing on WooCommerce so the file your customer designs becomes the exact file your printer receives.
TL;DR
- A print-ready file export turns a customer's on-store design into a production file your printer can use directly: correct CMYK color, bleed, resolution, and format.
- Four things make a file print-ready: CMYK color, bleed and safe zones, 300 DPI resolution, and the right format (vector where possible), aligned with the Adobe PDF/X standard.
- Manual file prep is the hidden tax on custom-product businesses. Automating the export removes it, and Chamevo merchants cut manual work by up to 80%.
- On WooCommerce, the real win is one system that both wins the sale and outputs the print file, with no per-order transaction fees and no hard variant cap.
What is a print-ready file export?
A print-ready file export is the process of automatically turning a customer's finished custom design into a production file a printer can use with no further edits. That means the correct color mode (usually CMYK), a bleed area around the trim, enough resolution for the final print size, and a file format your workflow accepts, such as PDF, PNG, or SVG.
The distinction that trips up merchants is preview versus production. Most e-commerce customizers render a fast, RGB, screen-resolution image so the product page loads quickly. That is perfect for showing a customer what they will get, and useless for the person running the press. A screen preview and a production file are two different jobs, and only one of them keeps your printer happy.
This is where a purpose-built print automation feature earns its place. Instead of exporting a web image and leaving the real work to you, it generates the production file at the moment of purchase, with the color profile, bleed, and resolution already correct. The design your customer approved on the product page becomes the artwork your printer opens. No rebuild, no guesswork, no late-night file fixing.
Why manual file prep quietly drains your margin
Every custom order that needs a human to prepare its file is a small tax on your business. On a slow day, fixing a handful of files by hand feels manageable. But custom-product demand is climbing fast, and the volume is exactly what breaks a manual process.
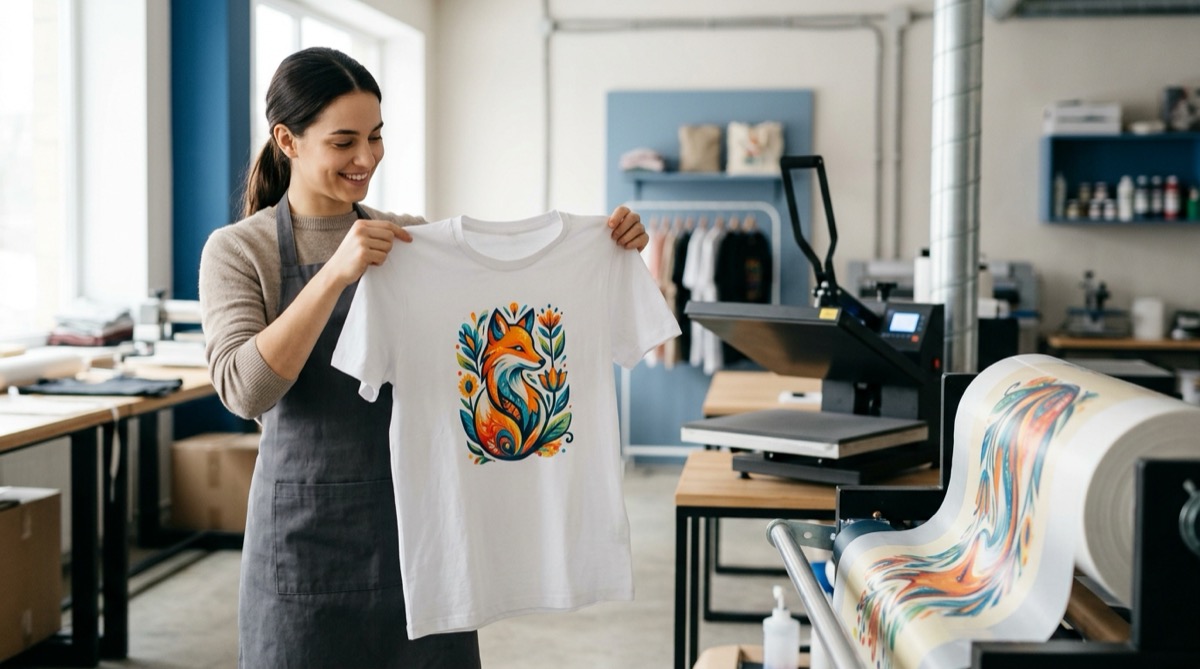
The print-on-demand market is projected to grow from $10.8 billion in 2025 to $13.1 billion in 2026, on its way to $57.5 billion by 2033, a 23.6% compound annual growth rate, according to Grand View Research. Apparel alone makes up roughly 39.5% of that market. More custom orders is good news, right up until each one demands ten minutes of manual file prep.
Manual prep does not just cost hours. It costs consistency. A team member fixing files at 11 p.m. forgets a bleed, misreads a resolution, or exports RGB by mistake, and that error becomes a reprint, a delayed order, and an unhappy customer. The reliability problem shows up at checkout too. The average online cart abandonment rate sits at 70.22%, based on 50 studies compiled by the Baymard Institute. Buyers hesitate when they are unsure, and nothing erodes trust faster than a product that arrives looking different from the preview. Getting the file right, every time, protects both the sale and the reorder.
What makes a file print-ready: the four pillars
"Print-ready" is not a vibe, it is a checklist. A file either meets your production requirements or it does not. Four properties do most of the work, and they map closely to the widely used Adobe PDF/X standard for print exchange.
1. CMYK color
Screens mix red, green, and blue light. Printers lay down cyan, magenta, yellow, and black ink. A bright RGB blue can print as a dull purple if it is never converted, which is why so many "why does this look different?" complaints trace back to color mode. A print-ready file uses the CMYK profile your printer expects, so what the customer approved is what the ink reproduces.
2. Bleed and safe zones
Cutting is never perfectly precise. Bleed is the extra artwork, typically about 3 mm, that extends past the trim line so a slight cut variance never leaves a white edge. The safe zone is the opposite: an inner margin that keeps text and logos away from the cut. Set both once, and every order respects them.
3. Resolution
A design that looks crisp at four inches on a phone can print at twelve inches on a poster. Resolution has to hold at the final output size, and 300 DPI is the common minimum for photographic work. The practical fix is to stop bad files before they are ordered, with resolution warnings that flag a low-res upload while the customer is still on the page.
4. File format
Vector formats like SVG and vector PDF scale to any size without losing sharpness, which is ideal for logos, text, and line art. Raster formats like PNG suit photographic detail and transparency. A capable customizer exports the format each job needs, with fonts embedded so nothing reflows on another machine, exactly as the PDF/X standard requires.
How to automate print-ready file export in WooCommerce
The goal is simple: configure your production rules once, then let every order produce its own print-ready file automatically. On WooCommerce, that setup takes an afternoon, not a developer. Here is the path most merchants follow.
- Start with a WooCommerce store and a print-capable customizer. You need WordPress, WooCommerce, and a visual product customizer that outputs production files, not just previews. If you compare plugins first, our roundup of the best WooCommerce product customizer plugins shows which ones actually handle print output.
- Create a print profile. A print profile is where you define color, bleed, safe zones, and export format once and reuse it across products. Set your CMYK profile, your bleed (around 3 mm to start), and your minimum resolution here.
- Map print areas on the product. Tell the customizer where the printable area sits and where the safe zone ends, so customer designs are positioned correctly from the first click.
- Turn on resolution and safe-zone guardrails. Enable minimum-resolution warnings and safe positioning grids so low-res uploads and edge-crowding text are caught before checkout, not after.
- Connect automated file delivery. Route finished files to Dropbox, Google Drive, or AWS S3, or trigger a webhook, so print-ready files land organized in your production queue with no manual downloading.
- Place a test order and check the output. Run one real order through your own workflow, open the exported file in your RIP or on your printer, and confirm the color, bleed, and resolution before you go live.
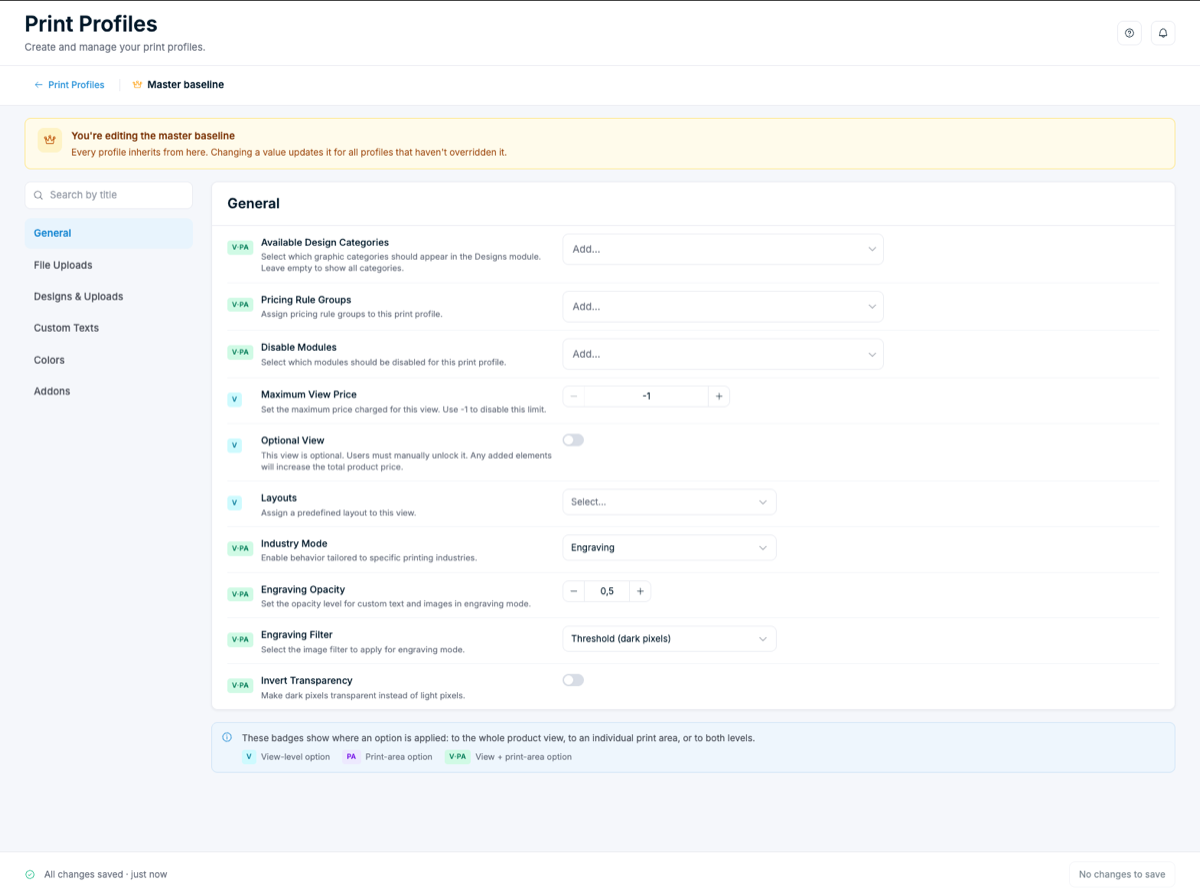
The difference between doing this by hand and letting the system do it is stark. Once your print profile is set, the export is invisible: a customer checks out, the file is generated, and it appears in your production folder ready to run. Chamevo merchants report cutting manual work by up to 80% this way.
| Manual file prep | Automated print-ready export |
|---|---|
| Open each order in a design app | The file generates the moment the order is placed |
| Convert RGB to CMYK by hand | Your CMYK profile is applied automatically |
| Add bleed and crop marks per file | Bleed and safe zones are baked into the print profile |
| Eyeball resolution and hope it prints sharp | Minimum-resolution rules block low-res uploads |
| Download and rename files one by one | Files land in Dropbox, Drive, or S3, named and sorted |
| Hours per day at high volume | Minutes, hands-off, at any volume |
Where 3D previews and AI tools fit the export pipeline
A print-ready export is the finish line, but two features upstream make the whole workflow stronger. The first is 3D. When a shopper can rotate and personalize a realistic model, they buy with more confidence, and that same 3D design feeds the export. Our WooCommerce 3D product customizer guide walks through the setup, and the key point for production is this: the model a customer perfects becomes the exact CMYK file your printer receives. Chamevo pairs 3D visualization with print output in one tool, which is the combination standalone 3D viewers leave unsolved.
The second is AI. Customer uploads are often too small, sit on a busy background, or need a quick cleanup before they are fit to print. AI upscaling raises a low-resolution photo toward print quality, and background removal isolates the subject, both before the file is exported. That means fewer rejected orders and fewer files that need a human to rescue them. When AI tidies the input and automation handles the output, the middle, the manual grind, disappears. For a broader look at building this kind of workflow, see our guide to print-on-demand with AI.
Print-ready file requirements by print method
"Print-ready" means something slightly different for each production method. A DTF transfer and a laser engraving want different things from the same design. The good news: with print profiles, you set the rules per method once, and the right file comes out every time.
| Print method | Color | Min. resolution | Preferred format | Watch for |
|---|---|---|---|---|
| DTF (Direct to Film) | CMYK plus white layer | 300 DPI | PNG (transparent) | Clean transparent background, tight trim |
| DTG (Direct to Garment) | RGB or CMYK | 300 DPI | PNG (transparent) | Keep artwork inside the print area |
| Sublimation | CMYK | 300 DPI | PDF or PNG | Full-bleed art, edge to edge |
| Screen printing | Spot / limited colors | Vector | SVG or vector PDF | Color separations, keep counts low |
| Laser engraving | Grayscale / 1-bit | Vector or high-contrast | SVG (vector) | Threshold and opacity, no color |
General conventions to start from. Always confirm exact specs with your printer or RIP software.
This is why print profiles matter more than a single export button. An apparel maker running DTF and a studio doing engraved gifts have different requirements, and a serious customizer lets each product carry its own rules. If your catalog spans methods, the ability to define output per profile is what keeps a growing operation from drowning in one-off file fixes. Fulfilling through a partner works the same way, and our WooCommerce customizer for Printful guide covers that handoff.
Frequently asked questions
What does print-ready mean for a custom order?
Print-ready means the exported file needs no further editing before production. It uses the correct color mode (usually CMYK), includes bleed and a safe zone, holds enough resolution at the final print size, and is saved in a format your printer accepts. A screen preview is not print-ready, even when it looks identical on the product page.
What file format is best for print-ready export?
It depends on the artwork. Vector formats like SVG and vector PDF are best for logos, text, and line art because they scale without losing sharpness. PNG suits photographic detail and transparency, which is why DTF and DTG workflows often prefer it. A good customizer exports the format each job needs rather than forcing one.
What resolution and DPI do print-ready files need?
300 DPI at the final print size is the common minimum for photographic work, and vector artwork stays sharp at any size. The reliable approach is to stop low-resolution files before they are ordered, using minimum-resolution warnings that flag a small upload while the customer is still designing.
How do I automate print-ready file export in WooCommerce?
Install a print-capable product customizer, create a print profile with your CMYK color, bleed, and resolution rules, map the print areas on your products, and connect automated delivery to Dropbox, Drive, S3, or a webhook. After that, every order produces its own print-ready file with no manual prep.
Can I export CMYK print-ready files from customer uploads?
Yes, with the right tool. Chamevo applies your CMYK profile during export, so a customer's RGB design is converted to production color automatically. AI upscaling and background removal can also clean up weak uploads before the file is exported, reducing rejected orders.
Do print-ready files work with DTF and Printful?
Yes. You can tune the export per print method, so DTF gets a transparent PNG with a white layer while screen printing gets vector output. When you fulfil through a partner like Printful, the same print-ready file flows straight into that workflow instead of being rebuilt by hand.
Make every custom order print-ready, automatically
A print-ready file export is the quiet difference between a custom-product business that scales and one stuck fixing files by hand. Get the four pillars right, CMYK color, bleed and safe zones, 300 DPI resolution, and the right format, and you stop the reprints, delays, and "this looks different" complaints that eat your margin. On WooCommerce, you configure those rules once in a print profile and let every order generate its own production file.
The lasting advantage is running the whole pipeline from one place: a preview that wins the sale, guardrails that catch bad uploads, and an automated export that hands your printer the exact file, in the right color, every time. That is how a small team absorbs a seasonal surge without hiring temps to rescue artwork, and it is why Chamevo merchants cut manual work by up to 80%.
Ready to stop fixing files by hand? Add Chamevo to WooCommerce and start a 14-day free trial, no credit card required. Give your customers a customizer they trust, and give your production team print-ready files that just work. (Chamevo is also available on Shopify if that is where your store lives.)